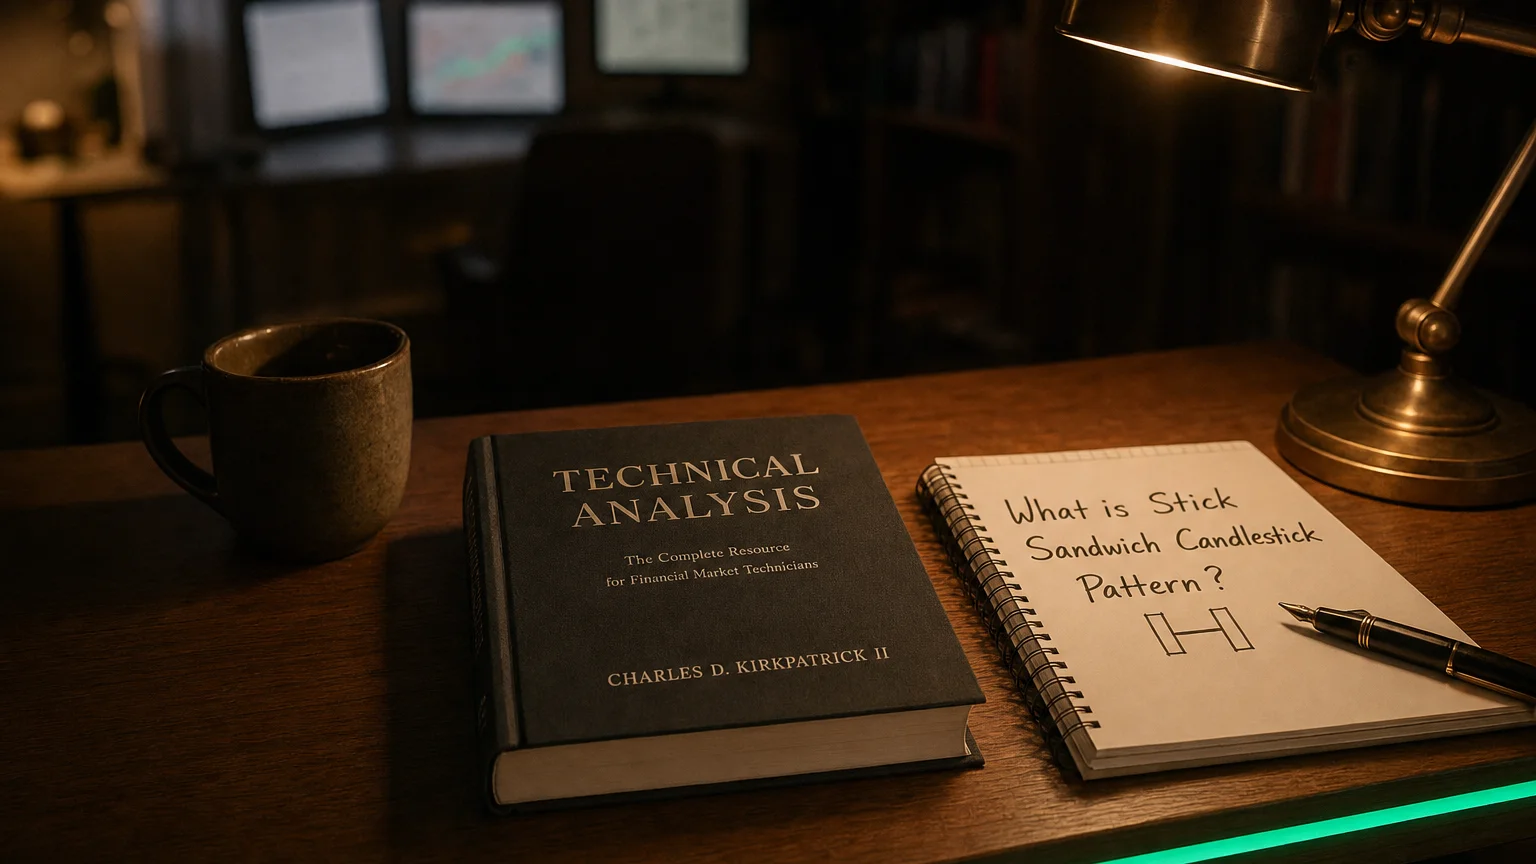
Stick Sandwich Candlestick Pattern is a financial concept covered in this article. The Surprising Pattern Where Opposites Create Support
There is nothing new on Wall Street or in stock speculation. What has happened in the past will happen again and again.
A Stick Sandwich is a rare three-candle formation whose “bread slices” close at the exact same level, trapping the opposite-coloured middle candle in between.
-
Bullish version (more common):
-
Long black/red candle in a down-trend
-
White/green candle gaps lower, rallies, but its close is still above Candle 1’s close
-
Another black/red candle closes exactly at Candle 1’s close → creates a price floor
-
-
Bearish version: mirror colours/direction inside an up-trend (green-red-green with identical green closes).
Theoretically the identical closes mark hard support/resistance; in practice the pattern often behaves as a continuation unless bulls/bears confirm control on the next move.
Identification checklist
| Rule | Bullish Stick Sandwich | Bearish Stick Sandwich | Why it matters |
|---|---|---|---|
| Trend | Clear decline | Clear advance | Looking for exhaustion/support |
| Candle 1 | Long black body closes near low | Long white body closes near high | Establishes momentum |
| Candle 2 | White body opens below C-1 close, closes higher | Black body opens above C-1 close, closes lower | Counter-thrust |
| Candle 3 | Black body closes exactly at C-1 close (±1 tick) | White body closes exactly at C-1 close | “Bread slices” seal the level |
| Shadows | Allowed; bodies are key | Same | Focus is the matching closes |
| Confirmation | Close above C-2 high within 1-3 bars | Close below C-2 low within 1-3 bars | Filters frequent continuations |
Market psychology
-
Momentum push – Candle 1 extends the prevailing trend.
-
Counter-punch – Candle 2 rallies (or drops) sharply, hinting at a reversal.
-
Snap-back close – Candle 3 slams price back to Candle 1’s settle, declaring “that level still matters.”
-
Decision point – A break beyond the pattern extremes squeezes the losing side; a failure triggers continuation.
Trading blueprint
| Element | Long setup (bullish pattern) | Short setup (bearish pattern) |
|---|---|---|
| Entry | Buy after a close above C-2 high (or intraday break + volume) | Sell/short on a close below C-2 low |
| Initial stop | Beneath the shared close (C-1/C-3) or ATR(14)×1 | Above the shared close |
| Targets | 1.5–3 R, first resistance zone, or 20-EMA touch | Mirror |
| Edge boosters | Volume ≥ 1.2× avg on breakout; RSI divergence; pattern printed in lower ⅓ of yearly range | Volume surge; overbought RSI; upper ⅓ of range |
| Time stop | Trim if price < 0.5 R progress in 3–4 bars | Same |
Because the closes are identical, stop placement is surgical, letting a modest move pay multiple R.
Statistical tendencies (Bulkowski, 4.7 M daily candles)
| Metric | Result |
|---|---|
| Theoretical bias | Bullish reversal |
| Tested reality | Bearish continuation 62 % of the time |
| Frequency rank | 59 / 103 (occasional) |
| Overall performance rank | 14 / 103 – strong moves when they break out |
| Best 10-day move | +7.4 % after upward break in bear market |
Take-away: confirmation is critical—raw pattern alone is directionally unreliable.
Strengths & limitations
Pros
-
Clear geometry – identical closes are easy to code/scan.
-
Tight risk anchor at the shared close.
-
Can flag hidden support/resistance before the crowd sees it.
Cons
-
Rare on liquid instruments; don’t loosen rules.
-
Performs opposite to theory 6 times in 10—must wait for a closing breakout.
-
Susceptible to overnight gaps that destroy the “matching close” nuance.
Quick visual cheat-sheet
Bullish Stick Sandwich Bearish Stick Sandwich
🟥 long down bar 🟩 long up bar
🟩 counter up bar 🟥 counter down bar
🟥 close = bar-1 close 🟩 close = bar-1 close
⚑ Buy > C-2 high ⚑ Short < C-2 low
🛑 Stop at shared close 🛑 Stop at shared close
Summary
The Stick Sandwich is a three-slice candlestick “grill” where identical closes create an instant support or resistance shelf. Trade the pattern, not the theory:
-
Demand a decisive close beyond Candle 2’s extreme in the anticipated direction.
-
Anchor risk at the matching-close line—tiny R yields attractive 1.5–3 R pay-offs.
-
Layer context—volume surge, momentum divergence, or yearly-range extremity—to separate true reversals from the 62 % of continuations Bulkowski found.
Follow that playbook and you’ll turn this rare sandwich into tasty, tight-risk trades rather than biting into stale bread. Rock on and manage that risk!